How to Freeze Collard Greens
Wondering how to freeze collard greens so you don’t waste them when cooking for one or two? This easy tutorial will help you enjoy collards in small batches!
When you’re cooking for two, you can sometimes end up with extra ingredients that might end up going to waste.
Veggies like fresh collard greens, which are sold in big bundles, won’t last long in the fridge, so learning how to freeze collard greens can be really helpful.
Freezing is a great way to preserve your greens for future use, reduce food waste, and ensure you always have a supply of tender greens on hand, even during the winter months.
The Freezing Process: Simple Steps
Here’s our preferred method for freezing collard greens, blanching them to ensure they retain the best quality for future use in your favorite recipes.
What You’ll Need:
- Fresh collard greens (or any type of greens)
- Large pot of water
- Large bowl of ice water
- Baking sheet
- Freezer-safe bags or airtight containers
- Paper towel or salad spinner
- Slotted spoon
- Freezer bag (ziplock bags work well too)
Step-by-Step Guide:
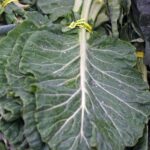
1. Prepare the Greens
– Start by washing the greens thoroughly under cold running water to remove any dirt or insect-damaged leaves.
– Remove the tough stems and any excess stems. You can also cut the greens into smaller pieces to make them easier to use later.
2. Blanching
– Bring a big pot of water to a rolling boil. For every pound of greens, use about a gallon of water.
– Prepare a large bowl of ice water nearby for an ice water bath.
– Submerge the greens in the boiling water for about 2-3 minutes. This quick process helps to stop enzyme actions that could cause loss of flavor and color.
3. Cooling
– Immediately transfer the blanched greens into the ice water bath using a slotted spoon. Let them cool for the same amount of time they were boiled.
– Once cooled, drain the water using a salad spinner or by patting the greens dry with a paper towel. Removing as much water as possible helps prevent freezer burn.
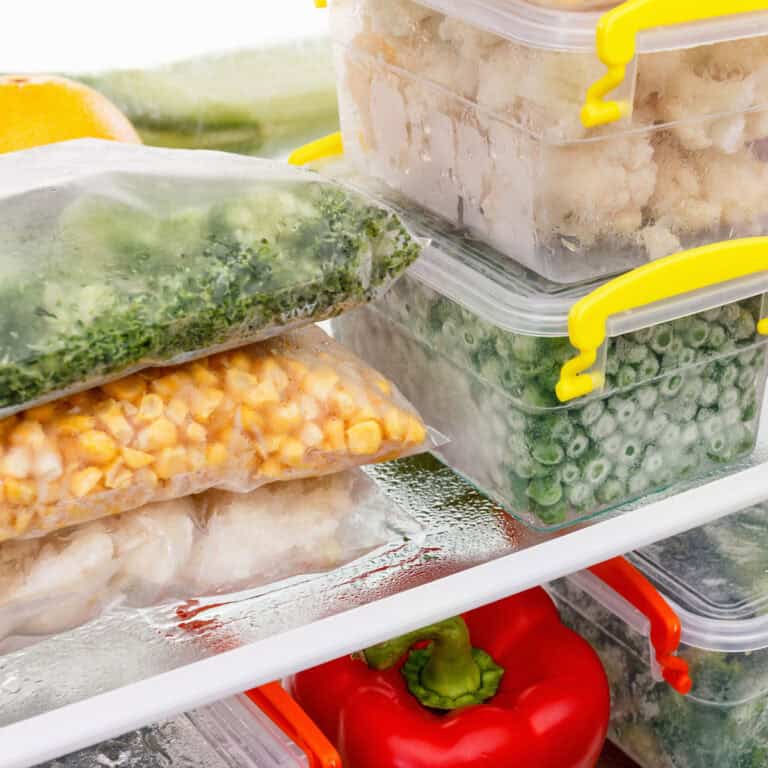
4. Freezing
– Lay the greens out in a single layer on a baking sheet and freeze until solid. This prevents them from clumping together.
– Transfer the frozen greens into freezer-safe bags or airtight containers, making sure to remove as much air as possible to avoid ice crystals and freezer burn. Label the bags with the date for easier tracking.
Tips
- Use small amounts of greens: If you’re only freezing a small amount, you can skip the baking sheet step and place them directly into freezer bags.
- Store properly: Use a quart jar or bag for smaller portions or ziplock bags for larger amounts.
- Maintain vibrant colors: Proper blanching and rapid cooling are key to preserving the fresh taste and vibrant colors of your greens.
- Avoid excess moisture: Excess water can lead to freezer burn, so ensure your greens are as dry as possible before freezing.
Using Frozen Greens
Blanched greens can be used in a variety of recipes: toss them in soups, stews, casseroles, or even a green smoothie for a nutritious boost. They are a delicious addition to many dishes, providing you with tender greens year-round.
By freezing fresh greens, you not only reduce food waste but also save money and time. This method is ideal for smaller households where a bunch of greens can sometimes feel like too much. Plus, you’ll always have garden greens on hand for any recipe, no matter the season.
Freezing collard greens and other leafy greens is a great way to ensure you always have tender, nutritious greens available. It’s a simple process that requires just a few easy steps and some basic kitchen tools. So next time you find yourself with a surplus of greens, try freezing them—you’ll be glad you did!